HOW TO PAINT A DOG WITH WATERCOLORS
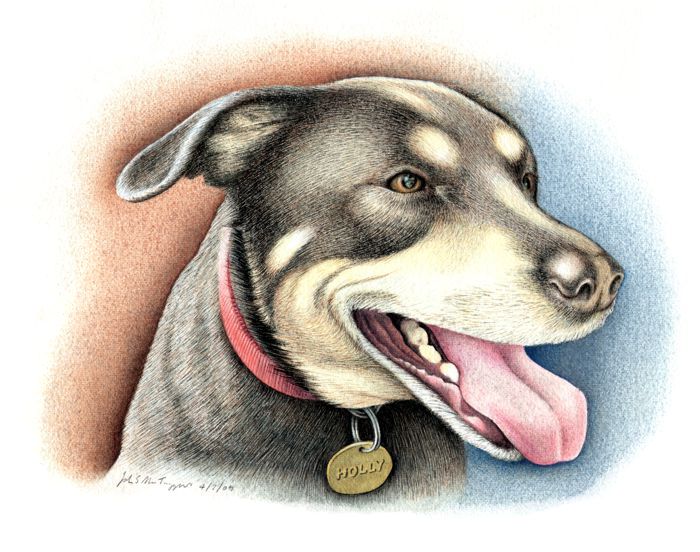
Our art lesson on how to paint a dog with watercolors is a demonstration of the various steps involved in creating a portrait of 'Holly' who is looked after by Father John Casey of Saint Gabriel's RC Church.
WATERCOLOR PAINTING TECHNIQUE: The detailed watercolor technique used in our painting of 'Holly' was inspired by the animal drawings of Albrecht Dürer. There are three distinct techniques used here that should be noted.
- The fine details, tones and textures of the image were created by hatching and stippling a more opaque mixture of watercolor using very small sable brushes.
- The broader areas of color were applied in thin transparent washes of watercolor using larger brushes.
- Both of the above techniques were also blended, softened or refined using brushes dampened with clean water.
As a general rule in watercolor painting, you do not use white paint to lighten the tone of a color as white pigments have the contrary effect of reducing its intensity. Instead, you allow the white of the paper to shine through the natural transparency of thinly applied washes of watercolor in order to achieve the most vibrant effects. This means that you must always be careful not to overwork the light areas of an image if you wish to achieve the optimum qualities of a good watercolor.
NOTE: It is easy to darken a light color in watercolor painting but it is often impossible to lighten a dark color.
PAINTING A DOG: STEP 1
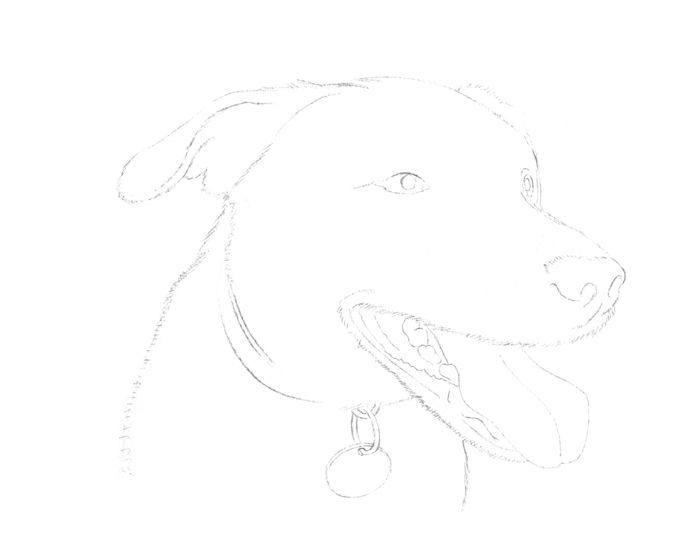
Sketching the outline of the dog
THE OUTLINE OF THE DRAWING: The first step in this lesson is to sketch a basic outline of the head in pencil.
TECHNIQUE: Smooth continuous lines were used for the more defined shapes and details such as the collar, name tag, teeth and tongue. Broken jagged lines were used for the textured edges of dog hair.
PAINTING A DOG: STEP 2
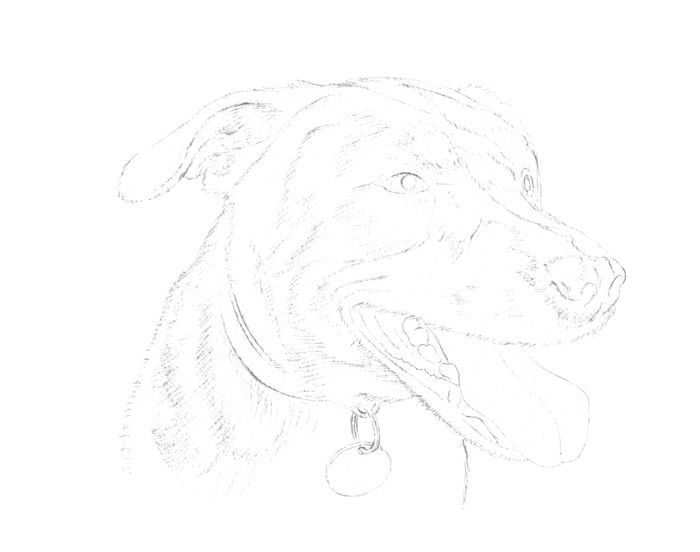
Planning the tone and texture of the dog's hair.
DRAWING THE TEXTURE OF THE DOG'S HAIR: The darker areas of the dog's hair were lightly hatched in linear strokes of the pencil to suggest the tone and texture of its coat.
TECHNIQUE: It is important that all the hatched lines you draw to suggest the tone and texture of the dog's hair follow the direction of its growth.
PAINTING A DOG: STEP 3
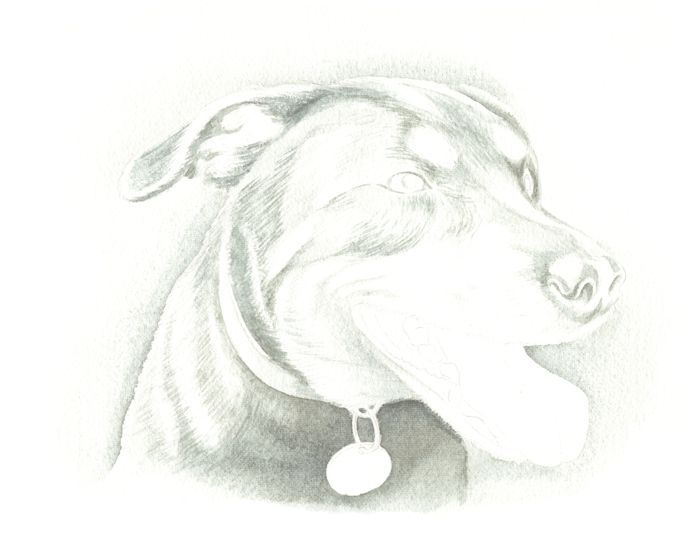
Building up color, tone and texture - 1
BUILDING UP COLOR: The first stage in applying color was to establish the dark tones of the dog's coat. This was done using a deep earthy green wash to provide a dark foundation for the transparent washes of color that would be painted over it at a later stage.
TECHNIQUE: Guided by the preliminary pencil drawing of the dog's coat, due care was taken to ensure that the fine brushstrokes used to establish the texture of hair over the dark tones always followed the direction of the hair growth. Some stippled tones were also carefully applied and softly blended with a damp brush around the outside of the image. The aim of this was to create a contrasting edge that would emphasize the lighter sections of the outline.
NOTE: Once a painted area is thoroughly dry, any visible pencil lines that are no longer useful in establishing tone or texture should be erased as they will muddy lighter washes of color in the later stages.
PAINTING A DOG: STEP 4
Building up color, tone and texture - 2
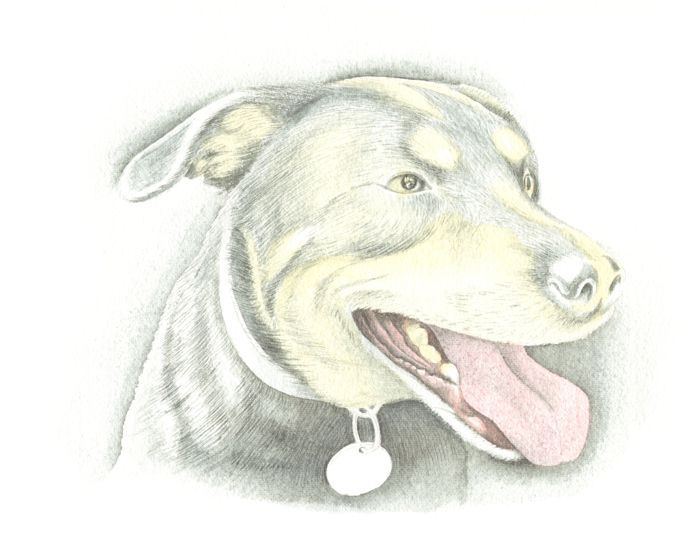
BUILDING UP COLOR (cont.): A thin yellow wash was loosely applied over the light sections of the face to establish a color that could be used to suggest the lighter markings on the dog.
Using very small brushes the tonal details of the tongue and teeth were carefully hatched and stippled in the same earthy green color that was used for the dog's hair. Once dry, a thin wash of flesh pink was applied to the tongue and gums with a hint of yellow for the teeth.
PAINTING A DOG: STEP 5
Building up color, tone and texture - 3
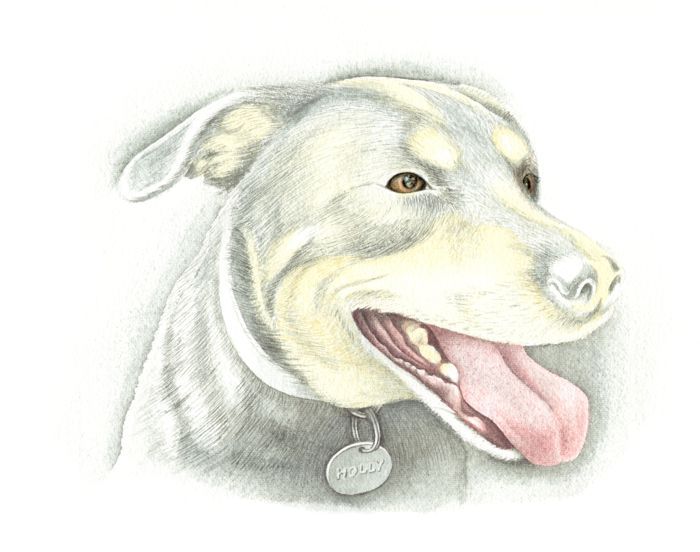
TECHNIQUE: At this stage it was decided to confront the key features of the eyes and mouth and take them to a more finished state. These features have to retain their prominence and balance as the rest of the image evolves. It is therefore necessary that the rest of the image is carefully brought to a level of completion that does not overpower the expressive qualities of the eyes and mouth.
BUILDING UP COLOR (cont.): Using very small brushes the tonal details of the eyes and mouth were carefully built up and intensified using a dark brown, earthy green and flesh pink. All the light tones of these details are simply the white of the paper shining through the thinly applied layers of paint. The tonal details of the name tag and collar were also added at this stage.
PAINTING A DOG: STEP 6
Building up color, tone and texture - 4
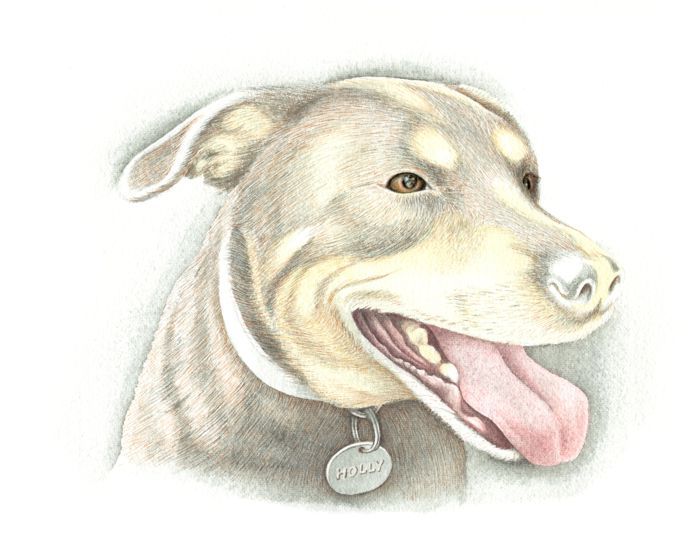
BUILDING UP COLOR (cont.): A thin transparent wash of light brown was loosely applied over the darker tones and textures of the image. This starts to change the earthy green tone of the dog's coat into a more natural color.
PAINTING A DOG: STEP 7

Building up color, tone and texture - 5
BUILDING UP COLOR (cont.): The process of building up the depth of color on the dog's coat continued with the application of another thin transparent wash of brown watercolor. More textural detail was also hatched into the coat with fine brushstrokes of this color.
At this stage, the colors of the name tag and collar were also applied with transparent washes.
PAINTING A DOG: STEP 8
Finalizing color, tone and texture.
BUILDING UP COLOR (cont.): The process of building up the depth of color, texture and tone of the dog's coat was concluded with a final wash of dark brown paint. This color was also stippled and hatched to heighten the detail of tone and texture, particularly in some of the darker areas of the image.
PAINTING A DOG: STEP 9

Painting the background.
PAINTING THE BACKGROUND: The colors of the background (brick red and sky blue) were chosen to represent the setting where Holly sat (against a brick wall on a sunny day) without actually drawing it in detail as it could detract from the image. These areas of color were applied in thin transparent washes which were then stippled with small brushes to gradually even them out.
PAINTING A DOG: STEP 10
The Final Image
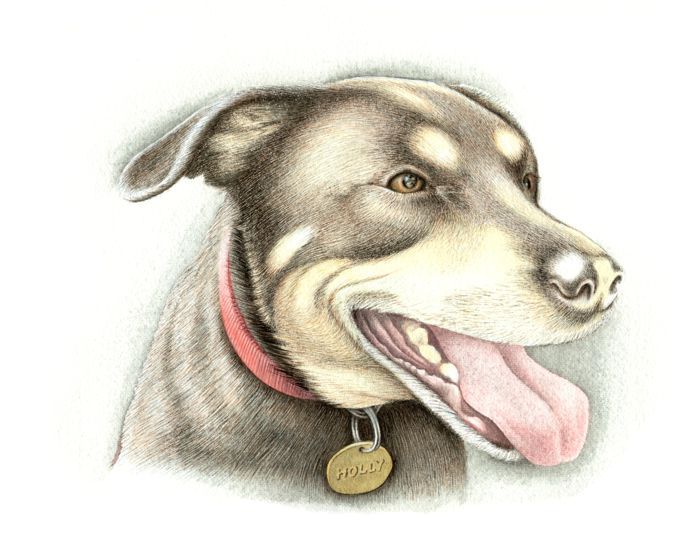
COMPLETING THE IMAGE: Finally, the painting of the background was gradually refined and completed by more careful stippling while some darker brown and blue tones were applied to contrast and highlight the lighter sections of the outline.
The aim of this project was to paint a recognizable portrait of Holly but, like any artwork you attempt, it is also a careful balance of abstract elements like color, tone and texture unified by an appropriate choice of medium and suitable technique for the subject.
Whether you are a small, medium and big enterprise, we are the best yet cheap SEO services provider company in your domain. You can avail of our services if looking for such kind of service for your business
ReplyDeleteConnect with my assignment writing services amid of coronavirus pandemic and stay at home. Avoid any physical contact and take my Operations Management Assignment Help to make online interaction.
ReplyDeleteAlso visit here: Homework Help
Human Resource Management Assignment Help
Project Management Assignment Help
Ufabet1688 of us again the way we are websites directly , not through a General Services , where customers will know it absolutely was extremely really no cheating possible on site gambling online , it is Ufabet1688 of us will hit prices. bile possible and commissions, most notably with a gambling pro.
ReplyDeleteufabet168
ufabet168
Slotxo xo slots guaranteed big web 100% stable financial, admin ready to serve the market 24 hours, support all platforms, entrance Slotxo, can play both website pages and mobile applications
ReplyDeletesexy gaming
slot
Excellent blog, very clear and informative. Thank you for an outstanding content. Check free luo post utme past questions
ReplyDeleteI must say, this is an interesting blog. I read a lot of blogs these days, but they rarely provide me with anything truly interesting. However, this blog has piqued my interest. check out delta poly otefe-oghara-post-utme-form
ReplyDelete